
A DIY project that goes awry almost always starts with a poor choice of fastener or a hasty surface preparation. Before looking for creative ideas for the home, we recommend laying the technical foundations that transform a fragile assembly into a durable realization. The current context is pushing individuals towards small maintenance tasks and repairs rather than large renovation projects, making mastery of the fundamentals even more profitable.
Fasteners and Assemblies: The Technical Point Often Overlooked by DIY Guides
The majority of failures in home DIY come from an inappropriate fastener for the support. Drilling drywall with a universal nylon anchor will never provide the same hold as a metal expansion anchor sized for the actual load.
We observe three recurring mistakes in wall shelf and hanging storage projects: undersizing the anchor relative to the weight, using a drill bit unsuitable for the wall material, and failing to check plumb before final tightening.
- On hollow brick walls, toggle bolts or chemical anchors offer a pull-out resistance far superior to standard plastic anchors.
- On solid concrete, a percussion drill bit with a diameter strictly equal to that of the anchor ensures a snug fit.
- On standard drywall, Molly anchors remain the reference for medium loads, provided the correct drill bit diameter and shaft length are chosen.
- On solid wood, pre-drilling with a diameter slightly smaller than the screw prevents splitting, especially at the end of the board.
Taking thirty seconds to identify the nature of the support before pulling out the drill is what separates a solid wall-mounted piece of furniture from a shelf that ends up on the floor in the middle of the night.
Practical sheets categorized by project type are available at bricolageentoutgenre.fr, with advice tailored to different levels of experience.
Surface Preparation Before Painting and Wood Finishing
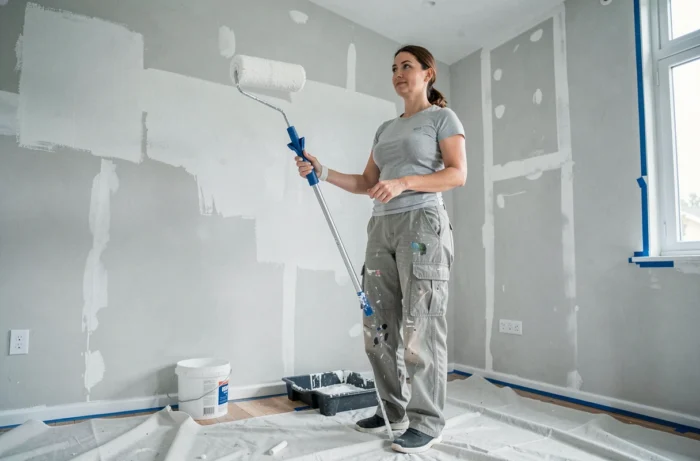
A methodical sanding conditions the durability of any finish, whether it be paint, stain, or varnish. We recommend a three-step process with successive grits: coarse grit to rough out irregularities, medium grit to even out, and fine grit to smooth before application.
On raw wood intended for a piece of furniture or a shelf, the sanding direction always follows the grain of the wood. Sanding across the grain opens up the fibers and leaves visible scratches under the finish coat, even after two coats of paint.
On an interior wall, the preparation varies according to the condition of the support. A filler compound fills cracks and anchor holes. After complete drying, a light sanding with fine grit followed by a coat of primer provides a uniform result. Skipping the primer step on new plaster or fresh render causes differences in absorption that are immediately noticeable.
The drying time between each coat is non-negotiable. Applying a second coat of paint on a first coat that is still tacky creates blisters and peeling. The manufacturer’s instructions on the can remain the reliable reference.
Wood Decoration Projects with Reclaimed Materials
The trend towards reuse is no longer anecdotal. With the decline in real estate transactions and the slowdown in new construction in recent years, individuals are redirecting their spending towards low-budget maintenance and personalization projects. Pallet wood, flooring scraps, or reclaimed closet doors are becoming starting materials for concrete realizations.

A wall frame made from reclaimed battens, for example, requires little tooling: a hand saw or miter saw, wood glue, a few nails, and medium-grit sandpaper. The result mainly depends on the care taken with the angle cuts, which must be clean at 45 degrees for a gap-free assembly.
For a small side table made from pallet wood, sorting the boards is the first step. Split, warped, or chemically stained boards should be discarded. A pass with a nail detector prevents damaging a saw blade on a forgotten nail.
Surface treatment on reclaimed wood deserves attention. A light stripping followed by an antifungal treatment protects against residual moisture. A finish of wax or natural oil preserves the raw look of the material while protecting it from stains.
Versatile Tools: Tools That Serve Multiple Projects
Accumulating specialized tools for each project is the classic trap for beginner DIYers. A small but well-chosen kit covers the vast majority of household tasks.
The cordless drill-driver remains the central tool. A model with variable speed and adjustable torque allows for screwing into soft wood without stripping the screw head as well as drilling thin metal at low speed. We recommend opting for a device with two batteries rather than a high-end model that comes with only one.
- A compact laser level replaces the bubble level for alignment work over several meters (shelf installation, frames, wall friezes).
- A five-meter tape measure with automatic locking covers all decoration and small furniture projects.
- A set of wood chisels (three widths are sufficient) is useful for adjusting a mortise as well as cleaning up an assembly.
Online purchasing of tools and materials has significantly increased in recent years, making it easier to compare technical specifications before buying. Checking the maximum torque, actual battery life, and battery compatibility between tools of the same brand avoids unpleasant surprises.
Organizing tools is part of the project. A perforated panel fixed to the wall of the workshop or garage with suitable hooks makes each tool visible and accessible. This type of storage can be made in less than an hour with a regularly perforated OSB panel and a few wooden dowels cut to the desired diameter.
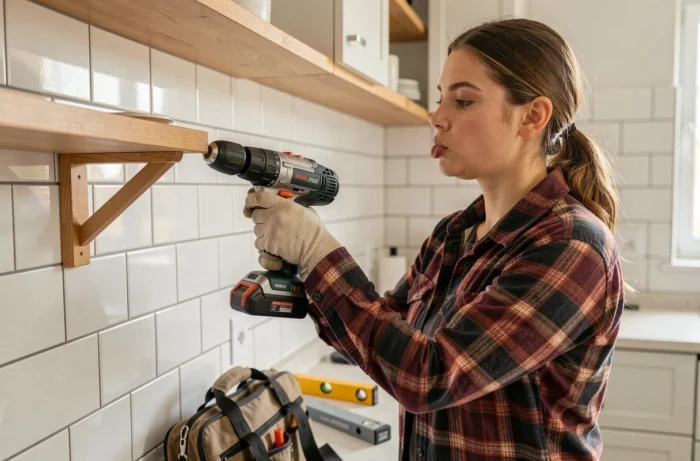
DIY at home becomes more efficient when the time spent searching for a tool or correcting a fastening error decreases. Focusing on preparation, proper assembly, and versatile tools transforms every small project into a clean result, without rework or frustration.